
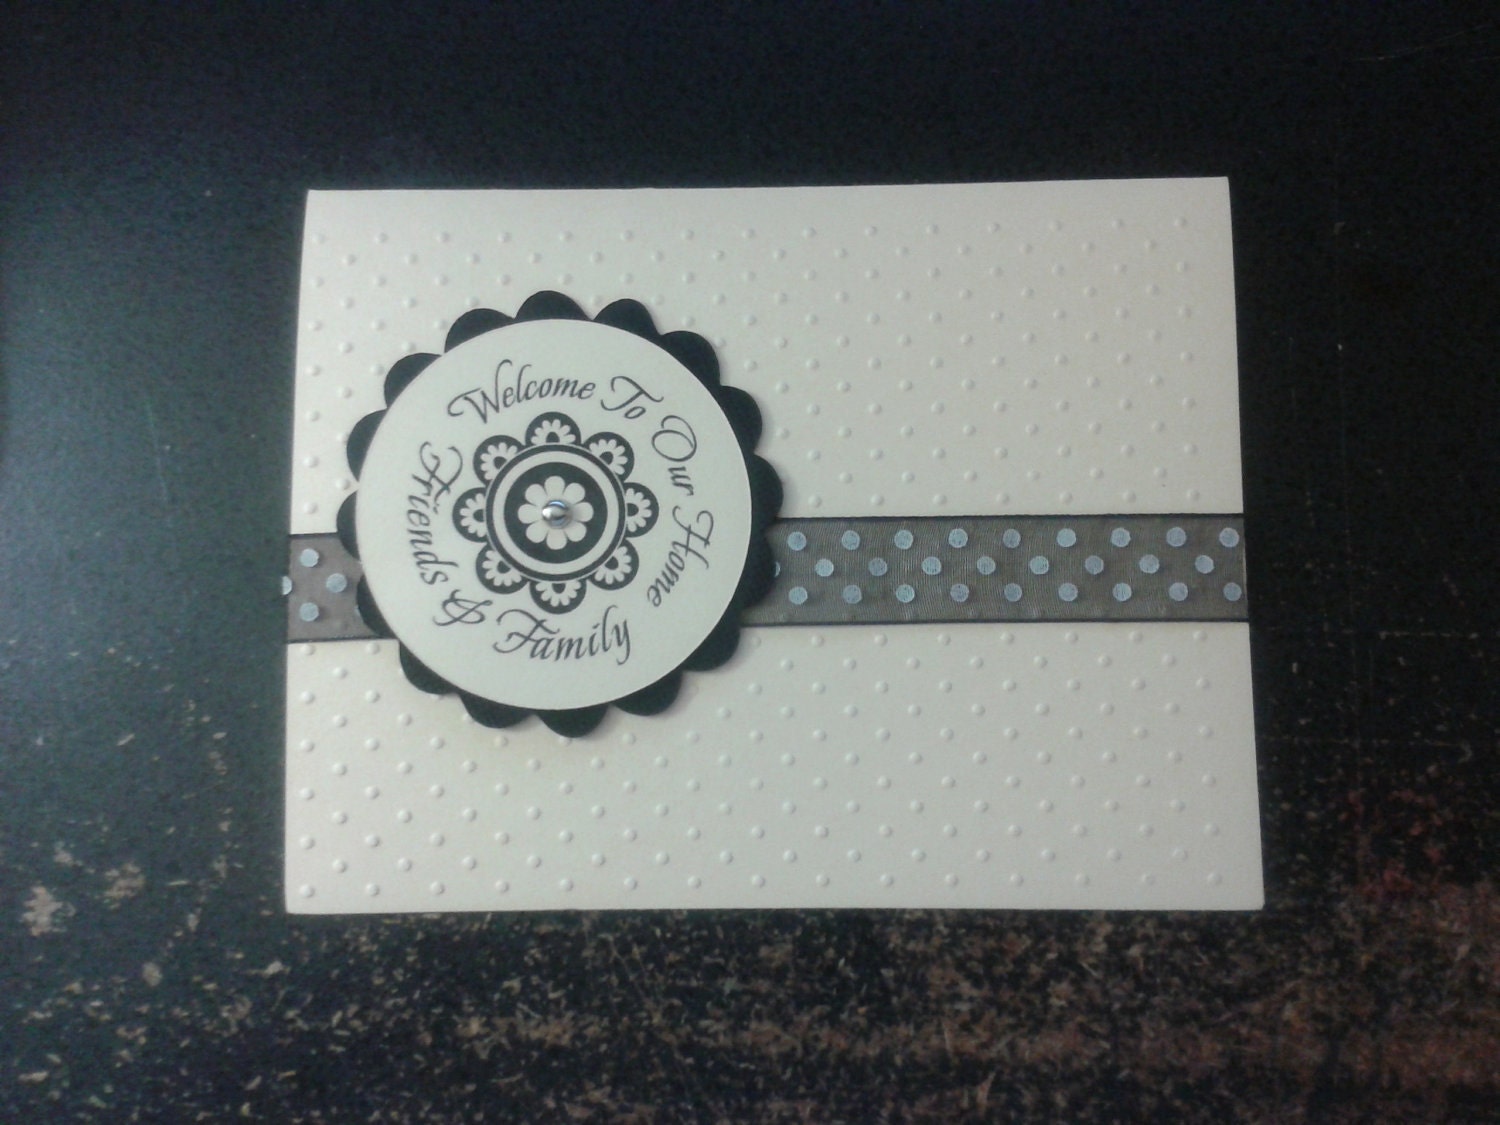
 This card was created about a year ago, but I wanted to show that you can make a simple but elegant card, and you still can use it for any setting, rather it is an open house with friends, a intimate gathering for a few, or a dinner party with all the trimmings. You will need the following materials:
There is nothing like a new home. If you are a former apartment dweller, this is a sign of relief. Condos do not count here. As a lady from my worship center once told me, a condo is nothing more than a fancy apartment. I say, a home is where you make it, while Oprah always say, "a home should rise up to greet you." No matter rather your home is an apartment in a gated community, a family mansion where you can fit several generations in it, or a small two bedroom single family home in suburbs, you may want to invite some friends and family over to celebrate the happy occasion of being in a new home.
The tools you will need are:
- A Cuddlebug or another type of embossing machine
- Swiss Dots embossing folder (or you favorite small pattern embossing folder if you do not have Swiss Dots, which is made by Provocraft)
- A die cutting machine (manual or electronic) or if you do not have that, a circle punch (2')
- Note #1: I used my Cricut machine with both the circle and the scallop circle, and the cartridges I used was the Storybook Cartridge (Pages 53 (right corner-circle) and Page 40 (Middle lower (scallop circle))but any cartridge with these two shapes will do
- Paper piercer to poke the center of the whole
- Printer or a round stamp. Note #2: to get the image perfectly centered on the page, I used the center point feature on the Cricut Expression machine (all but the original machine has this feature)
After cutting the first sheet of Cardstock to 4'x6', run it through the Cuddlebug on the front side of the card only. Set aside.
Cut out the circles. If you are printing and using an electronic cutting machine like the cricut, print out your digi image first, then follow you machine's directions on how to cut out the circle using the center point feature, so you will not cut the image. Each machine is different, even among the same brands (no two cricuts machines are alike), so know your machine's quirks as well. If you are using a circle punch and stamp (or even with letter pressing items), cut out the circle then stamp the image on the circle, for the scallop circle, you do not need the center point feature, so just cut out the circle. center the circle in the middle of the scallop, punch a hole in the center and secure with brad. set aside.
Next take the ribbon, and the embossed card blank, and place the ribbon in the center of the front of the card. I used a cheater method to secure the ribbon the inside of the card with scotch tape, to make it look seamless, you can use double-sided tape on the ends of the ribbon, and an extra step would be to cover the inside, which take more time if you have it.
Finally, take the circle set and place it to the left of the card, and secure it with glue on the brad wings (the medal prongs that fold out), or you can use a foam dot to raise it. I chose to not pop it up this time, but I normally do pop up an image. I also normally ink my edges and round off the corners, but I chose to leave it clean and simple this time.
I hope you have enjoyed my card for today. Moving into a new home is hard, but inviting friends to help celebrate that move makes is a lot sweeter. Be blessed on this day and enjoy your new home if you recently moved no matter how small or large it is. It is after all your home.

Fantastic card! Love the stamp.
ReplyDelete