
I finally did it, I made my first journal. Before I get into details, the video link on how I made it is on You Tube, and you can see it here. One with the show:


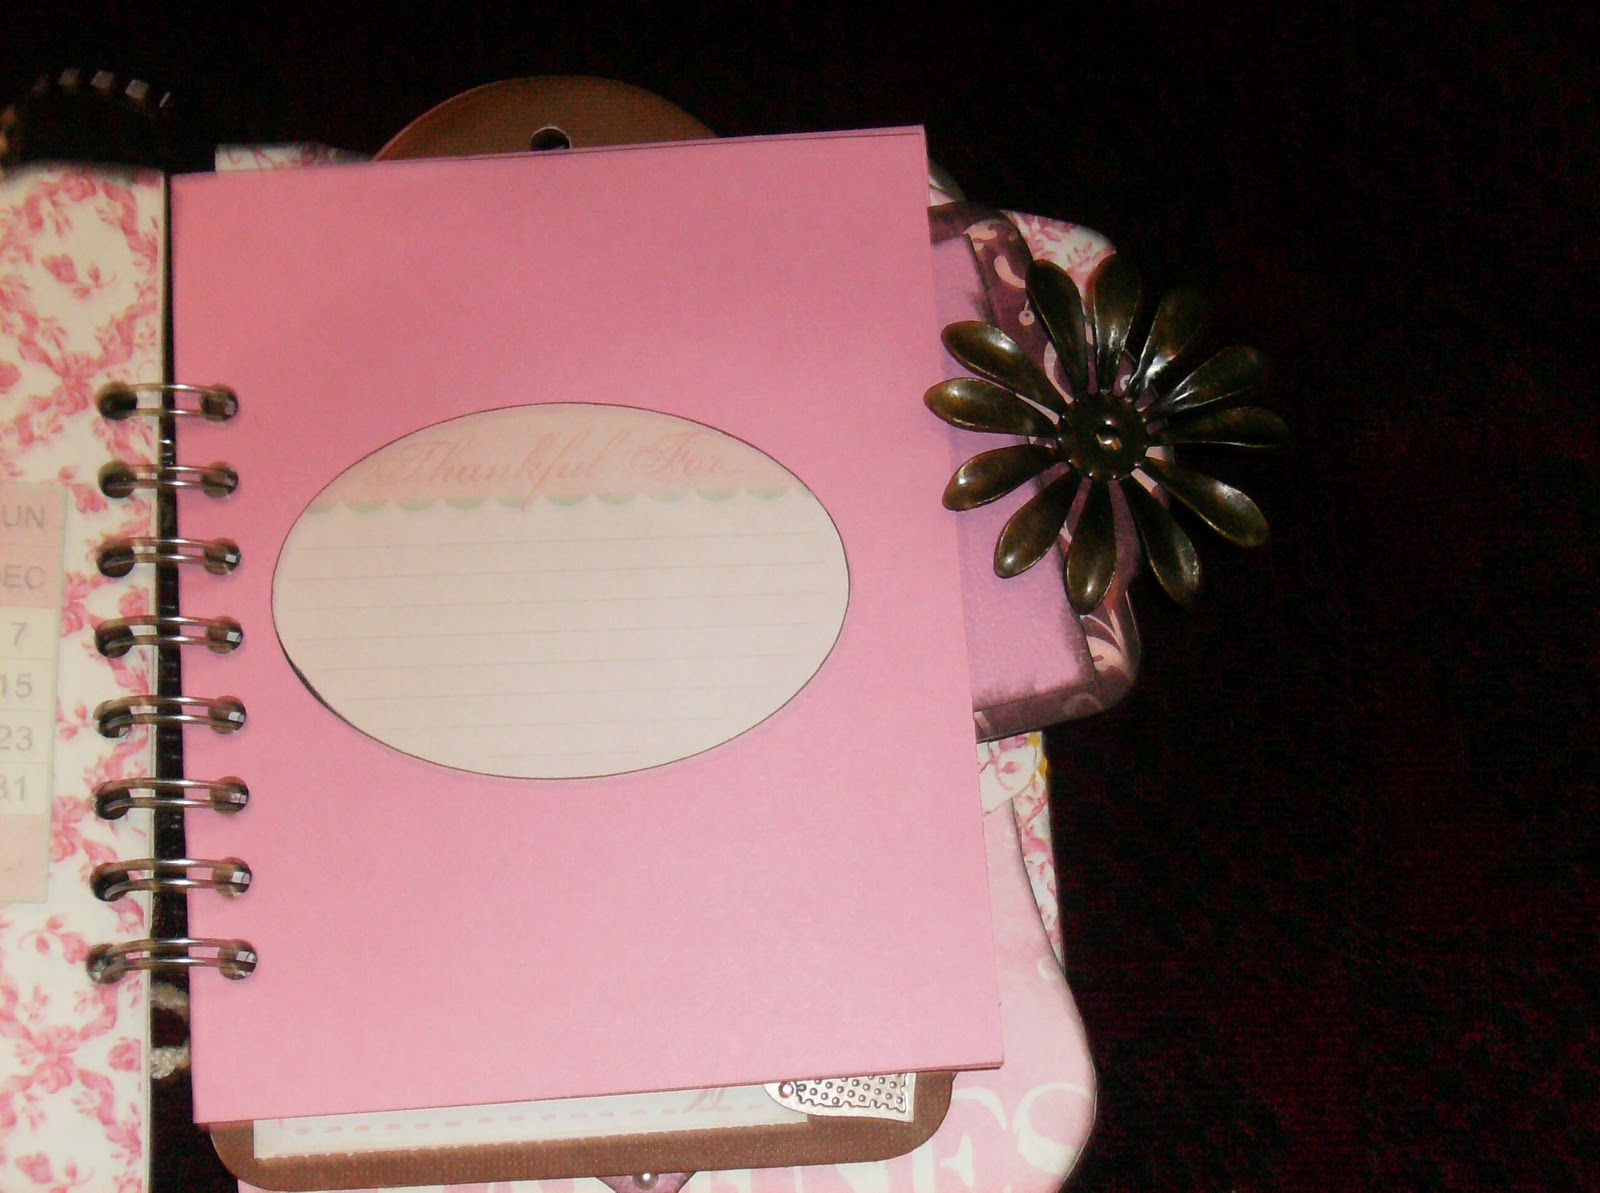
 The page was made with SEI paper, and what I did was cut the 12x12 paper in half, folded the paper. Next I put glue in between the two halves. I did that twice. I put the two together, and I put glue on all sides except one. this forms a pocket. The tag is made from Basic Grey, which is part of a Christmas paper, but since is has pink in it, why not use it in the journal. Tip: You do not have to use holiday paper during the holidays, unless it has things like snow flakes, santas, pumpkins, easter eggs. You get the idea. I cut out a double tag on Tags, bags, boxes, and more. It is actually called mirror image, and it turns any single tag into two. I mentioned this two posts back, as a way to make a mini folder, only this time, I glued the whole thing, instead of leaving one side unglued. I put a medal flower on the tag where the hole is, put a brad on to hold it, and on the back side placed a pearl gem to hide the brad. The pages have the same type of stickers from Melissa Frances. Both o these pages allows the person to jounal.


 The last pages were made almost the same way that the small pocket page was made, but this time, I once again enlisted the help from the "From My Kitchen Cartridge. I cut the recipe card at 6 1/2 cut it down just a little (it was a little too big), and then folded the bottom to make a pocket. I did not cut tags out for this last page, I used ready made tags from a project that did not need that many tags. I glued photo mats on them, and placed copic colored flowers on in the corners. I placed fiber where the holes are. the other side was left blank on purpose. The back inside cover has a thought phrase on it.
I enjoyed making this journal, and it was very relaxing, even though I will never do something like that in two days. I had planned on having it done by today, and then delivering it tomorrow evening. My hope is that the winner will enjoy this journal, and put many memories in it. Oh the binding. I bonded it with a cinch. It is the next step up from a Bind it all. I had problems learning how to bind with the Bind it All. It was not simply at all. If you are just learning how to bind this tool is for you. You just have to do a little bit a measuring to make sure all your holes are lined up. Get the wire cutter two, if you already do not have one. I did not have one, and I could have gone over to my parent's house and borrow my dad's, but Sunday when I to look for my materials, I brought my mom with me. We stood there for 5 mins contemplating over me getting the wire cutter, and she said it would be better for me to have my own pair. she was right, because I cut the wire for preparation at 6am. My parents would have been upset if I came over to get wire cutters at that time of morning. Anyway, once you punch the holes, there is an area where you can place the wire, and put the pages on that way. Take the book and wire off the wire holder, and cinch (close) the wire in the back. Make sure you first set the wire size. You book is done after this process.
The Box:
This is the box it is going into:

The box came from one of the ladies from my church over the summer, and she told my mom that I might have some use for it. Well I did . I fleux destress the box with Blush ink from Close to My Heart. I am not sure if this ink was discontinued or not, but I had the ink for a long time.I destress both the top and bottom, and I took christmas holiday ribbon, which had wire in it, and made it look like a present.
So that is it. Again you can hear me talk about it on You Tube. Have a good day, and God Bless you.
LOVE your Journal...so much detail and love put into it...BEAUTIFUL job!!!!!
ReplyDeleteThank you Penny
ReplyDelete