
Last month (yes it has been that long, sorry), I talked about taking the machine out of the box. I have been delayed for a couple of reasons. 1) Life got a little crazy, and 2) I was learning the new machine, which is a little different than what I was used to. Today, let’s make our first project.
One of the first things you may want to do, is to clear some space on your hard drive for some SVGs if you do not want to grab images from your cartridges all the time (if you are a previous cricut owner). I will be speaking from the point of view of a person who has never owned a Cricut machine at all.
When you first log into Design Space, you will see this window:
Type in your user name and password and click the green button on the lower right-hand side of the screen. You are now ready to start your first project, and the login screen will disappear and you will be back to the first screen.

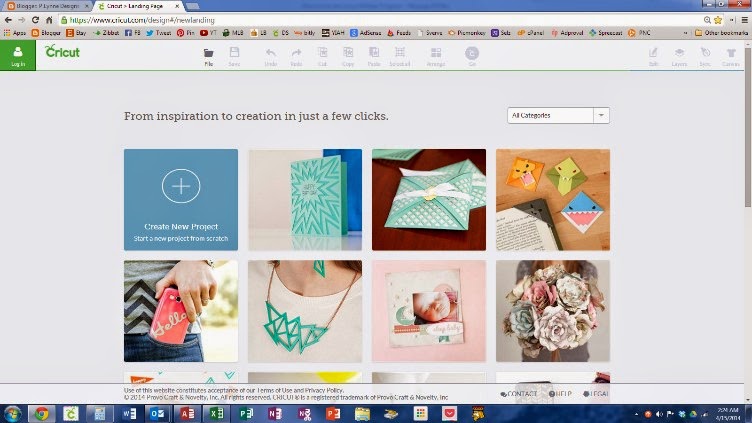
Hit the blue square to make a project from a blank canvas, or make a project from the pictured windows below the blue square.
Let’s tackle a ready to make project first.
One thing to say about these projects is there are project for every aspect of your life: cards, jewelry, flowers, home décor, and decorating your electronic equipment to name a few. I am going to pick a card. I am going to be working on an explosion card.
When you first get to the project sheet it will look like this:

Every project sheet will have the name of the project, how difficult it is, and how long it will take you to complete it from start to finish.
The description describes the project, which includes what size the project is supposed to be when you finish it. Please note, these are all the suggested size, you are welcome to change the project. More in detail later.
On the right hand side, you will find the materials or ingredients needed to make this project, as well as the instruction. Oh, I almost forgot the important part of the project, the template, (or images). It will be listed below the project and what image you will need to cut out. What I like about this is also tells you how much it will cost to download the image. In this case, it is free. If you get the subscription, most of your images are free with your subscription (which is optional). More on that later as well. On the right lower part are three things, the price, customize, and Make It Now. The customize button allows you to determine what size, shape or saying you want. Make It Now means there are no changes, and you are ready for the cutting mat. I am going to customize it…

Next time, I will show you the finer details of cutting out an already created project. Oh, you will also find out what a powerful little green button can do to a machine, otherwise known as the little go button.